
I'm having a baby! In about 5 weeks! And it's a girl!
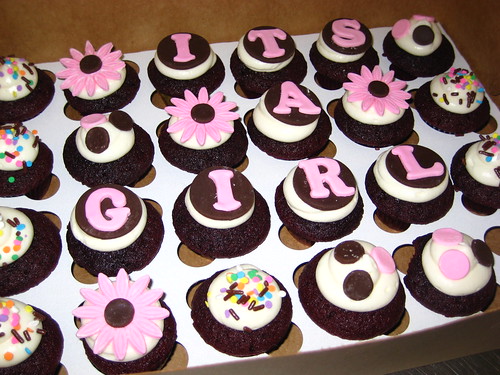 |
| Photo by Kristin Ausk of Meringue Bake Shop |
Naturally, having a baby means I have yet another reason to craft. This time, even more so. This will be my third girl and fourth child. I've started a tradition with my first two daughters. Both of my daughters have worn the same Swiss dot blessing dress that my mother made me for my baby blessing (a bit like a christening), and which my sisters wore for their blessings.
To go with the white dress, I wanted to make some sort of blanket for each of the girls—but my first two daughters were both summer babies, and most blankets would be too warm. So I had another idea: why not make a lace shawl?
I've always loved the idea of knitting lace, and I also love the idea of giving the shawls to my daughters on their wedding days.
For my older daughter, I bought the back-issue magazine with the Swallowtail Shawl pattern from Interweave Knits. Now, four and a half years later, the pattern is free. It took about three weeks to knit—including taking time off to actually have the baby!
Here she is, two weeks old, modeling my dress and matching bonnet, as well as the shawl. (I think she has on booties that were my mother's too!)

I kept up the tradition for my next daughter and made her a shawl too (she's a month old here):

This shawl is the Aeolian Shawl from Knitty online magazine. It's also free! I knit the shawlette size and omitted the beads from the pattern. It took me two weeks to knit.
Both of these were made from the same skein of Baruffa Cashwool laceweight yarn in white. (It was some of the only natural fiber laceweight wool I could find in white!) Each took a little over a third of the skein, so I hope I have enough left!
Since the day I finished my last shawl, I've been collecting patterns for another. I've got a collection of 18 patterns and now I have to choose one to knit!
A couple notes I used to narrow the selection down a bit:
- Both of the previous shawls feature "nupps" (the white dots, or little balls, on the shawls).
- Both of the previous shawls are triangular.
- Both of the previous shawls feature points along the edging.
- I love my lace light and airy. Large fields of plain stitching defeat the purpose of lace, in my opinion.
- A pattern with charts is a lot easier for me to follow.
- A minimum of yarn would be ideal. I'd hate to run out!
- I'd really like a free pattern!
My top choices (mine will still be white; clicking on the photos will take you to the Flickr page for that picture; clicking on the pattern name will take you to the pattern page on Ravelry):
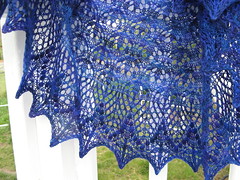 Example by WoofBC |  Example by sand_and_sky |
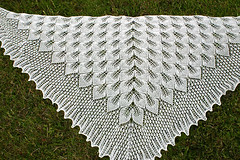 Example by ulygan | 
Example by designer, Alina Appasov
|
What do you think? Which of these four is your favorite? Come vote!
Want more gorgeous lace shawls? Check out the runners up:


