It's the first Wednesday of the month again.
Time for another crafty tutorial from me,
I can't believe how fast the last few months have gone
and it's getting to be time to start thinking about
making Christmas cards.
Every year I think I'll get them done early
and it never quite happens, some of them
get done early, but I always seem to
have some to finish up
at the last minute.
Today I'm going to show you
how to make an embossed background.
I'll be using
"Snow Background" (#27301) from
The first step is to ink up your stamp with VersaMark ink

Then stamp the image onto white card stock.
When I'm using one of my larger stamps,
I like to lay the stamp right side up on the table,
lay the paper over the stamp and
then rub over the surface of the card stock.
This way I feel that I am getting a better impression.

Next you will cover the stamped image with
white embossing powder.
You can use any color, but since I am doing a
snow background, I wanted it to be white.
You can see I have the area under my project covered
with a piece of paper, this way any powder that 'spills'
off the card can easily be put back into the jar.
Once the entire image is covered,
pour the excess powder back into the jar.
Using your heat tool, heat the embossing powder until
you can see it turn shiny.
I usually heat the back of the piece also,
this helps to reduce the amount of warping
of the paper that you get from the heat.
You can see the embossed design on the card stock now.
Nice and shiny.

Next using a blending tool or sponge
cover the entire design with Distress Ink.
Always start off the paper and work your way
into the center.
You can add a little or a lot of ink.
You can mix colors or use just one.
I only used one color on mine, but there is
still variation in the blue.
Some places have a little more, some a little less.
Just what I wanted.
The last step is to use a soft cloth,
I'm using a dry baby wipe,
to buff the surface.
The embossing will resist the ink.
You can see how nice and white my
snow is.
Once you have the background done,
you can use it in so many ways.
Add a bannered sentiment.
Cut out a stamped image and add it.
Just add some ribbon and adhere
it to a card base.
Use your imagination and have fun!
I hope you have learned something new today
and have been inspired to try making your own
embossed backgrounds.
I'd love to have you stop by my blog
and see what I've been doing lately.
I may just post something
with an embossed background soon.
Thanks for stopping by today.
Leave a comment if you will and
if you have any questions, feel free to ask.
Until next month, have fun creating!


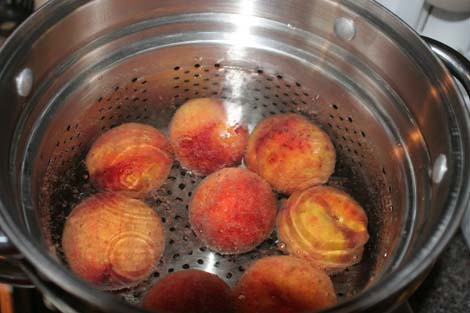 Once the water is boiling, drop 3 peaches in. Yes, I realize there are eight in the picture--that's for later. Just use your imagination. Let the three peaches sit for 30-60 seconds and then...
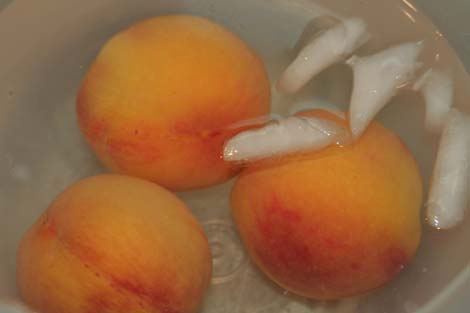 Remove them to a bowl of ice water. After 30-60 seconds you can begin removing the skins. (When I'm canning peaches I scrub the kitchen sink and then fill it with ice water for the ice bath.)
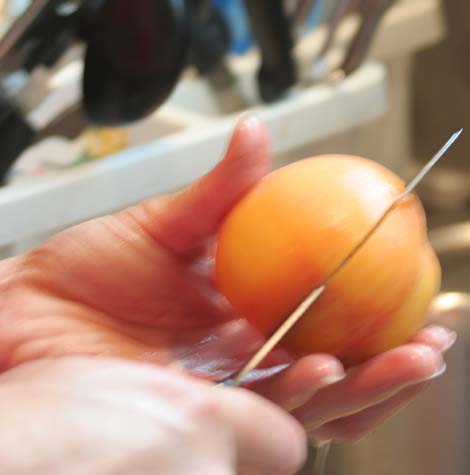 The way I like to do this is make a slice all the way around the peach. Then I use my thumb to slide the skin off.
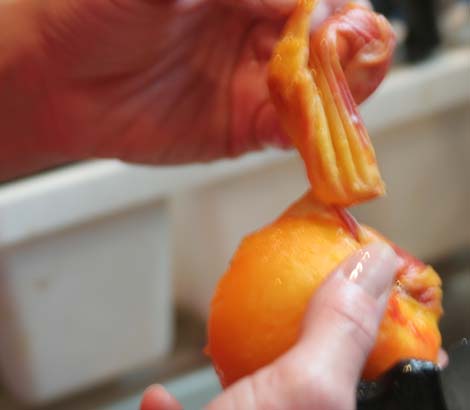 Easy as...pie! You knew I'd say that. Now I insert my thumb into the slice I made earlier and pull the peach apart. Then I lay the halves in my palm, slice them, and place in the blender.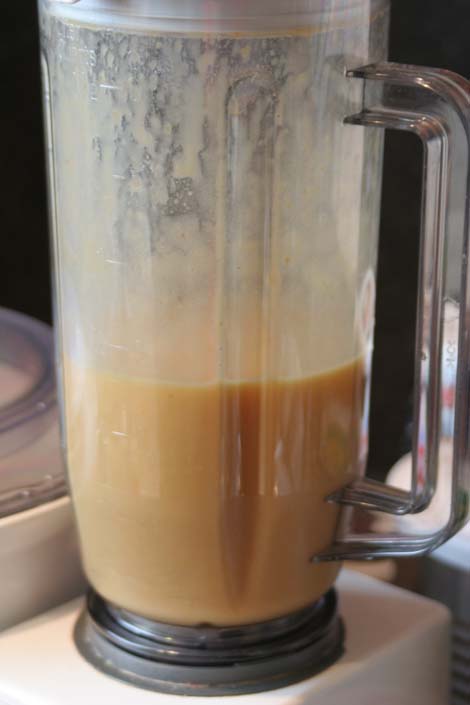
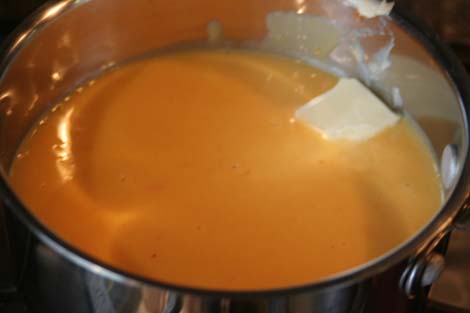
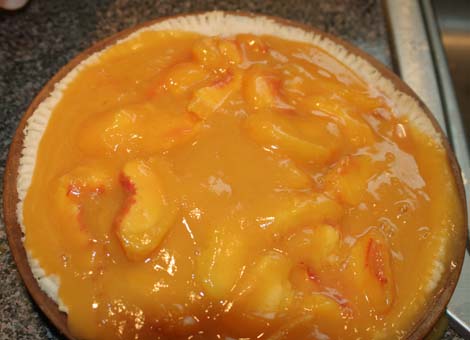
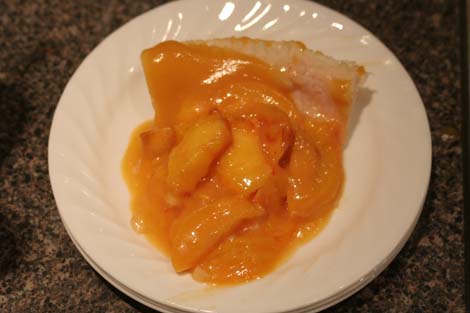 Okay, okay. If it's a school night and ten to eight and this is the FHE treat and you know there won't even be a crumb to capture on film after your family gets through with the pie, then, and only then, you can remove the pie from the fridge after only one hour. But I'm warning you, it won't be completely set and will be a little hard to photograph because it wants to ooze all over the plate instead of hold its shape--but the taste is divine--because it was never cooked it has a scrumptious fresh peach taste. Top with whipped cream unless of course your fresh cream refuses to whip and you're too lazy to skim another gallon of milk to see if it has thicker cream. Then serve plain and...Enjoy!


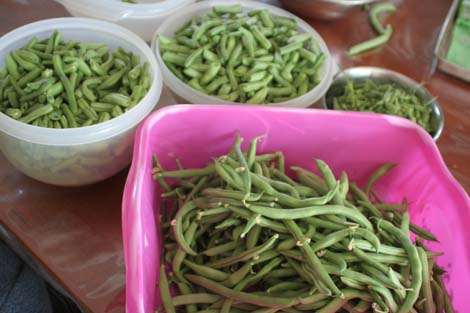 First pick the beans then snap the ends off and snap into halves or thirds.
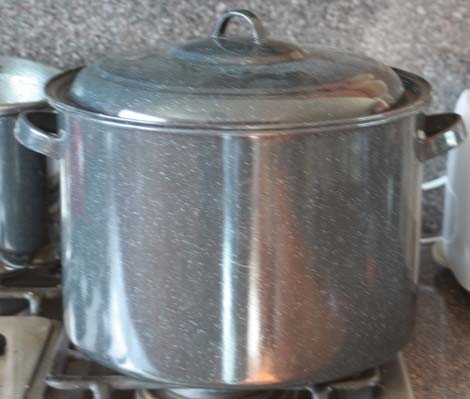 This is my boiling water canner. Today I'm using it to keep the canning jars hot. First put 3-4 inches of hot water in the pan with couple tablespoons of white vinegar (prevents hard water marks). Put pint or quart jars in pot, replace lid, and turn burner on high heat. When the water boils turn heat down to keep a low boil and set timer for 10 minutes. Technically the jars only have to be clean, not sterile, for pressure canning, but I'm a little OC on the clean side when I'm canning so bear with me. Plus, the jars need to be hot, hot, hot or when you pour the boiling water in them later they might crack. I also like a wet-hot. I used to have a tiny kitchen so I would fill my oven with the jars and turn it on to 250° for ten minutes, but the boiling water cracked several of my dry-hot jars. Now I prefer to keep them in boiling water and steam until I'm ready to use them, I never crack jars anymore with this method.
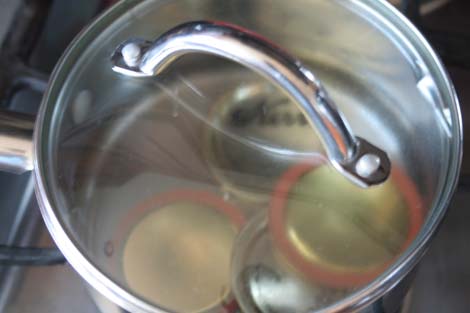 Next put eight seals (that's how many pint jars fit in my pressure canner) in a small saucepan and cover with hot water. You can put it on a burner on low heat if you want but DO NOT BOIL.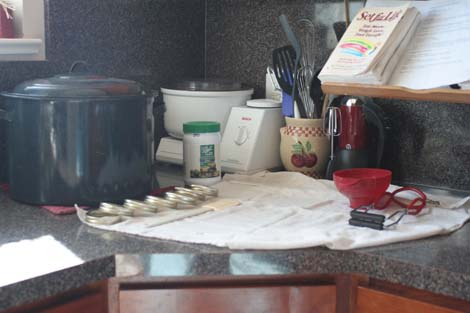
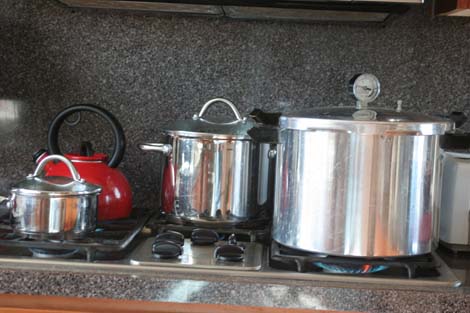 Fill your pressure canner according to the manufacturers directions. Mine says fill with three quarts water. Begin heating the water to boiling. I also fill my teapot and get it started on boiling. The stock pot in the back is more boiling water I would need if there's not enough in the teapot.
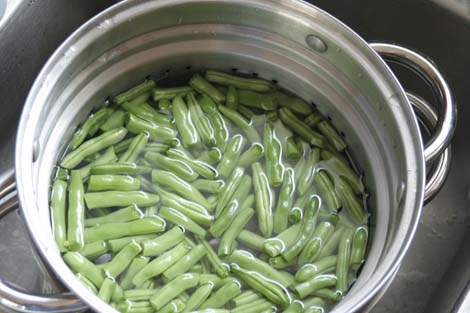 While the water boils, wash and drain the beans.
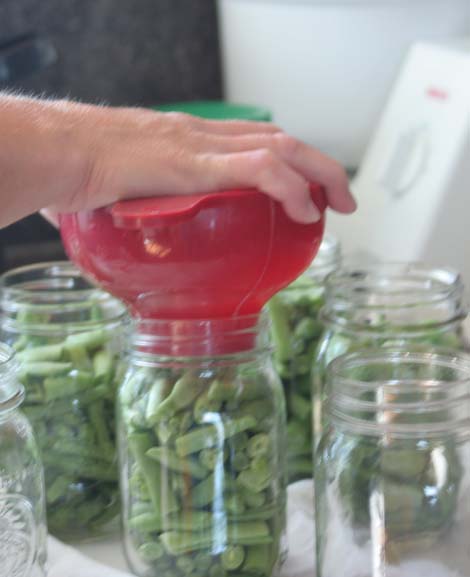 Place green beans into hot jars. Shake the jars to help the beans settle.
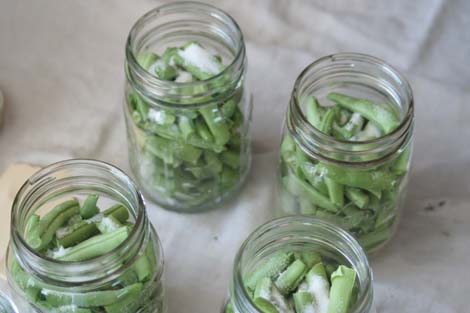 Add a 1/2 tsp. salt to each pint jar. Use canning salt. It is pure salt without any fillers. Fillers can turn your water cloudy over time. Guess what also turns your water cloudy over time? Botulism. Use the pure salt so you don't have to wonder why the water in your sealed jars is turning cloudy. You can find it on the canning aisle.
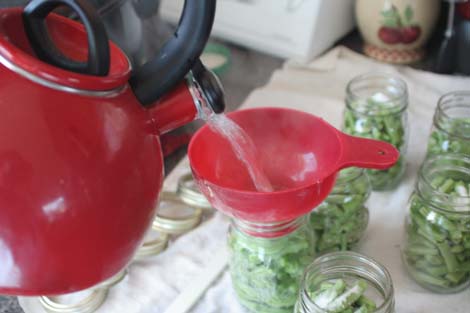 Pour boiling water into each jar. Leave one inch of head space in each jar. Vegetables expand when cooked.
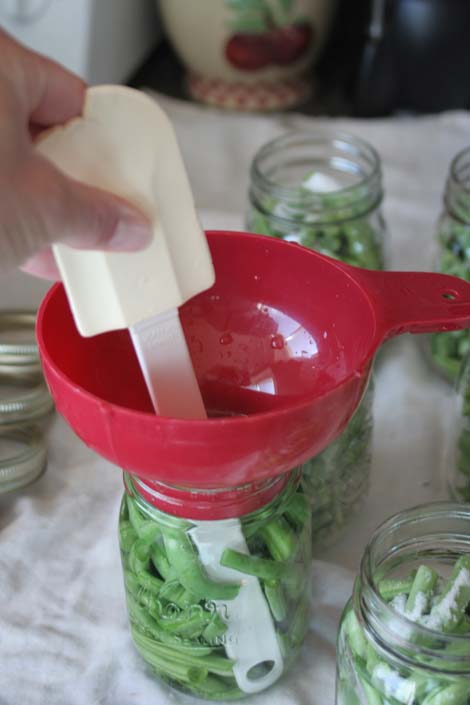 Use something clean and non-metallic to slide in and release the air bubbles.
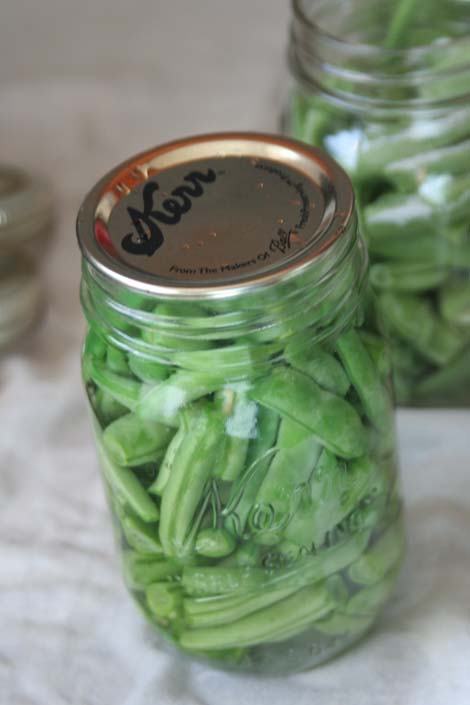 Place a seal on each jar and screw on a ring in a loosely-firm manner.
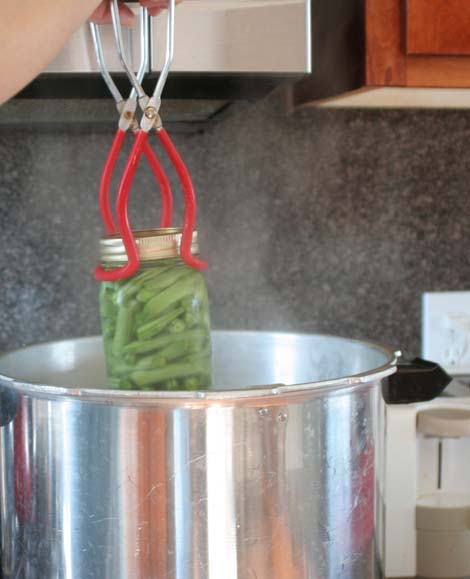 Place in the canner of boiling water.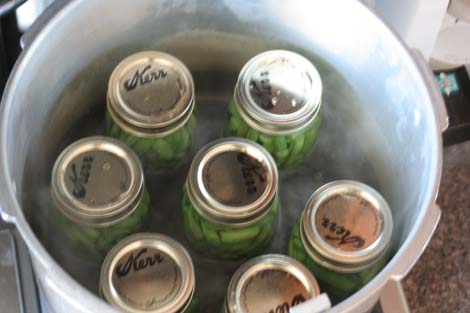
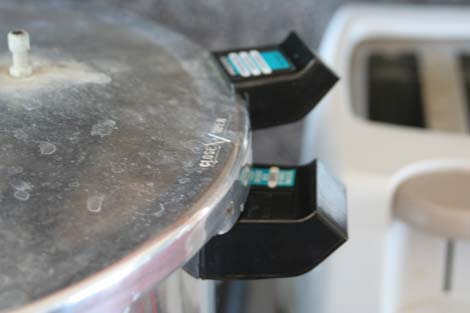
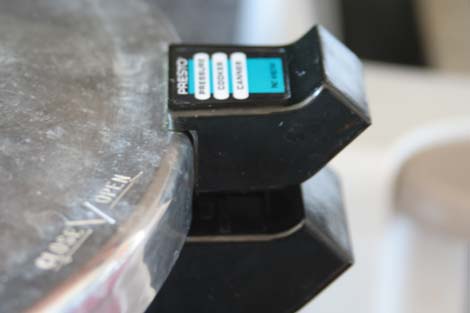 and lock into place.
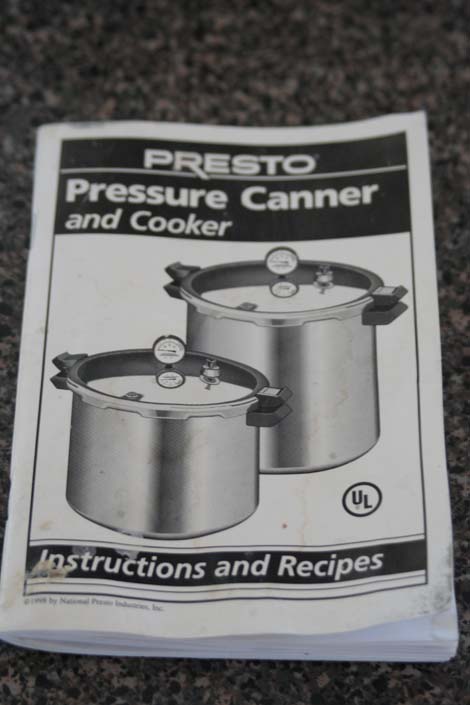 Consult the booklet that came with your canner.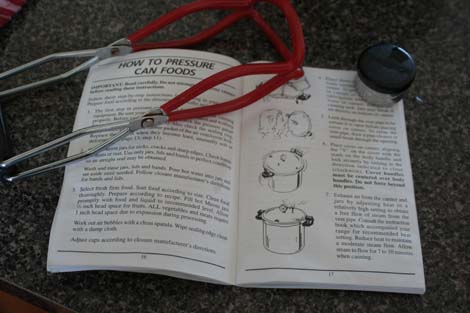
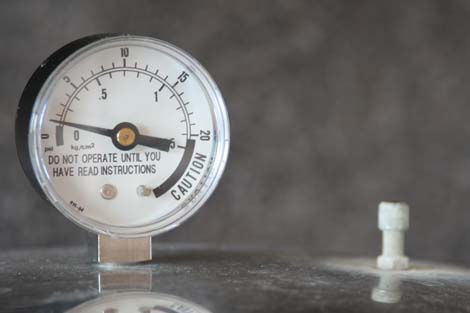 Turn the burner up to a relatively high heat to maintain a steady stream of air and steam exhaust.
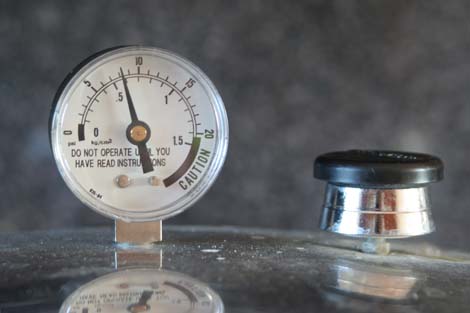 Place the pressure regulator over the vent pipe when the appropriate amount of time has passed and start building pressure. I keep my burner on high for this.
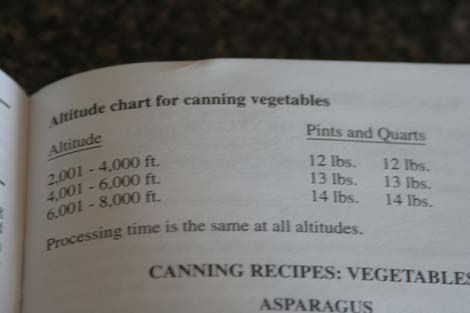 Consult your booklet again for processing times and pressures for green beans. You have to know your altitude and process accordingly.
 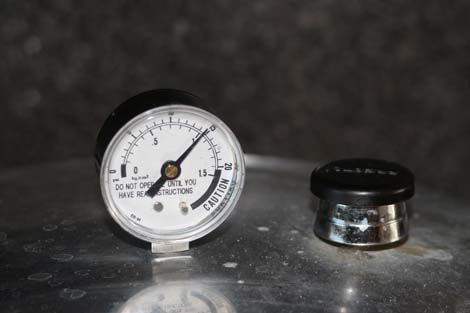 I have to process at 14 pounds pressure, but I like to go a bit above that because...
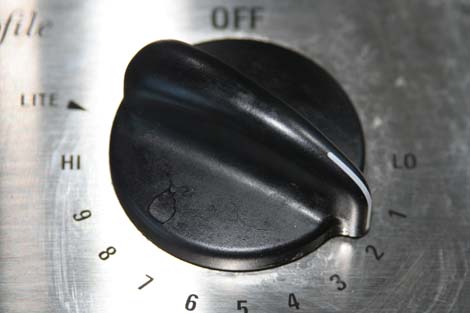 now I turn down the burner to maintain the pressure. I don't want it to fall below 14 pounds or I have to start the processing time all over again. The pressure MUST be maintained for the entire alloted time. Even if it only falls under the processing pressure for one minute you still have to raise the pressure back up and START TIMING ALL OVER or you won't kill the botulism-forming organisms. On my gas stove I turn it down to 2. When I had an electric range, I had to run it on high for the whole processing time.
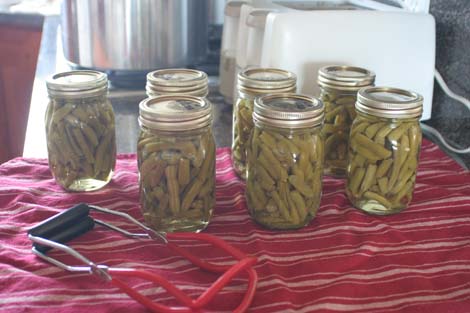 Remove the jars to a towel on your counter. You will likely hear most of the jars seal while doing this. Let them cool completely--twelve to twenty-four hours and then...
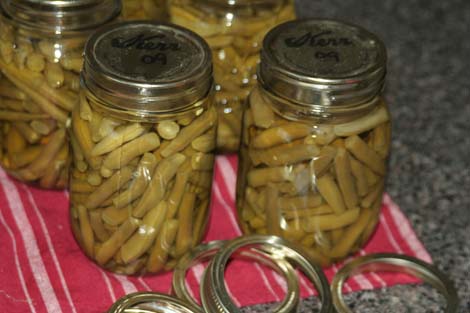 remove the rings to use for another batch. You needn't store the jars with rings on--they're sealed remember. Grab a Sharpee and write the year on the seal. See, it's not that bad. It's quite simple and goes rather quickly once you get everything set up. Check out the